We recently had our master bathroom professionally remodeled, which was amazing. Really amazing. When someone says the demo in your bathroom was the worst they’ve seen in 15+ years of construction, you say, “Thanks for being here!” and count your lucky stars you weren’t doing the demo yourself. Someday soon, when I master the use of a camera in tight spaces, I’ll share the pretty new bathroom with you.
The side-effect of that remodel is that I needed to repaint our main guest bathroom (lost a closet to make the master shower bigger, gained some new wallboard to replace the old closet door). In the end, the need to repaint lit a fire under me. I really wanted to do a few small, inexpensive things to finish the main guest bathroom.
If we live here for 20 more years, there’s a chance we’ll replace the green sink, toilet, and shower/bathtub. But for the intervening years, we’ll be sticking with the existing fixtures (and matching tile around the sink area). Lucky for me, I feel like I can work with avocado green. It’s kind of nice once you take away the rust brown/purple/orange/green paisley that used to be all over the bathroom.
So a quick, almost free facelift for the bathroom was my goal. In the end, I spent $27 and very little time. Success! I did a few small things you probably don’t care about (painted a few things, switched out the brass towel bar for four small silver hooks). But the big switcheroo was the countertop.
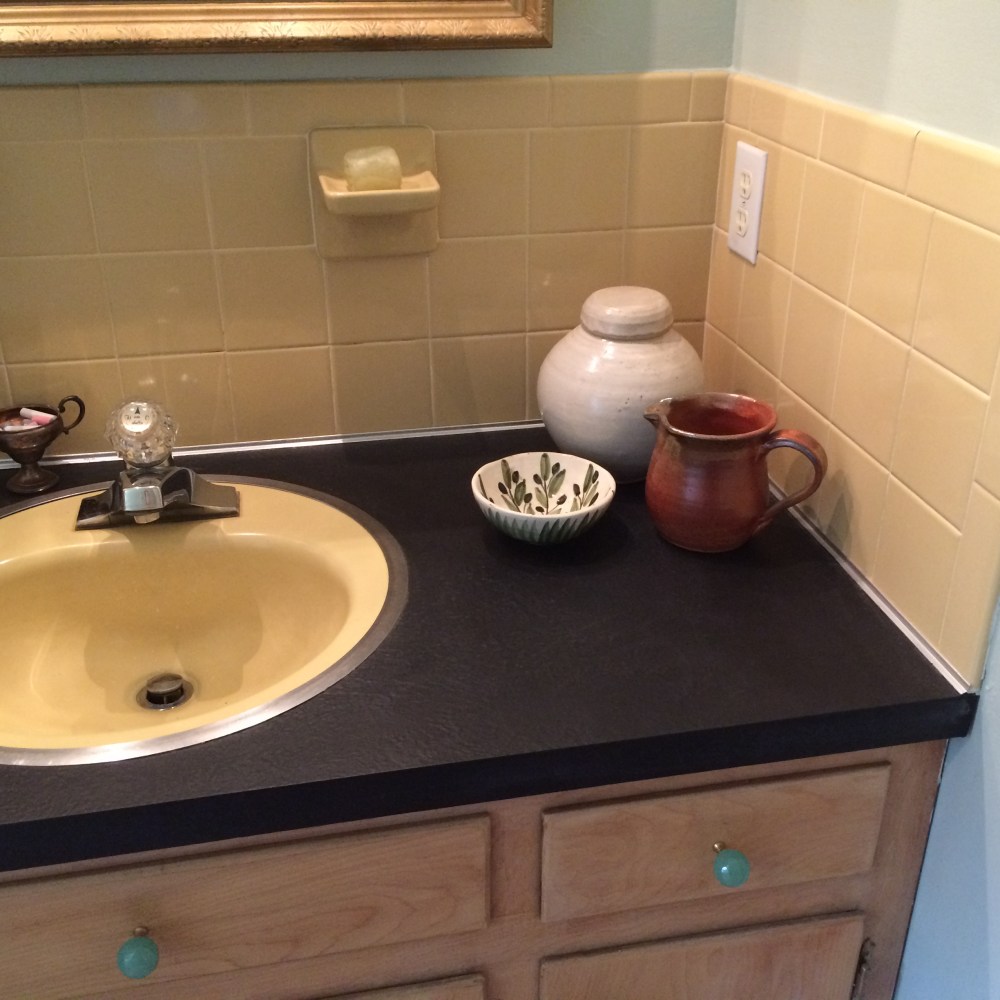
The countertop used to look like this:
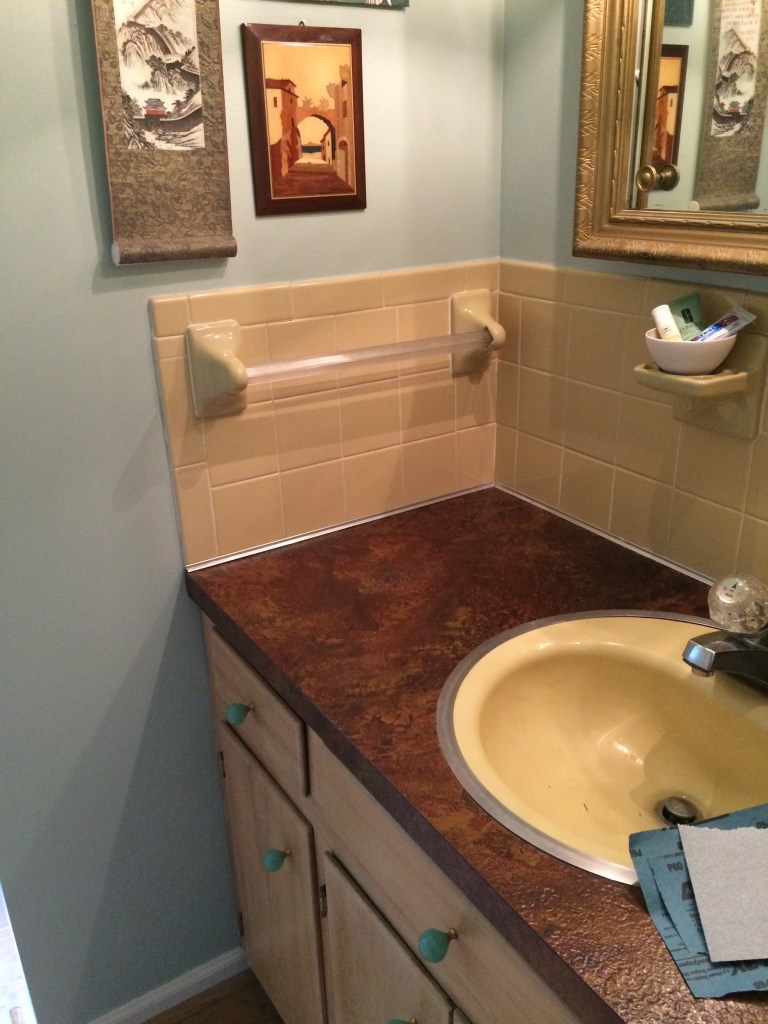
Honestly, I didn’t hate it. I just thought that we could do better (for free). I was looking for something that would look a little bit less 70’s next to the green tile/sink. My dream project was thin layers of concrete on top of the linoleum. It looks like a really cool project, and I’d like to try it sometime. But I couldn’t do that without uninstalling and reinstalling the trim and sink. I was pretty sure that would cause significant damage to something (since I’m not a pro by any means). Which would cost money. So that was out.
Enter the leftover primer from our other bathroom. And some painter’s tape. And sandpaper. And last but not least, some spare chalkboard paint. Maybe it’s bad that we had all of those things around the house. I think it’s great though. We can do projects any old time. No money was actually spent on this project.
First the sanding happened.

It was such a small space that it only took 20-ish minutes.
Then there was taping.
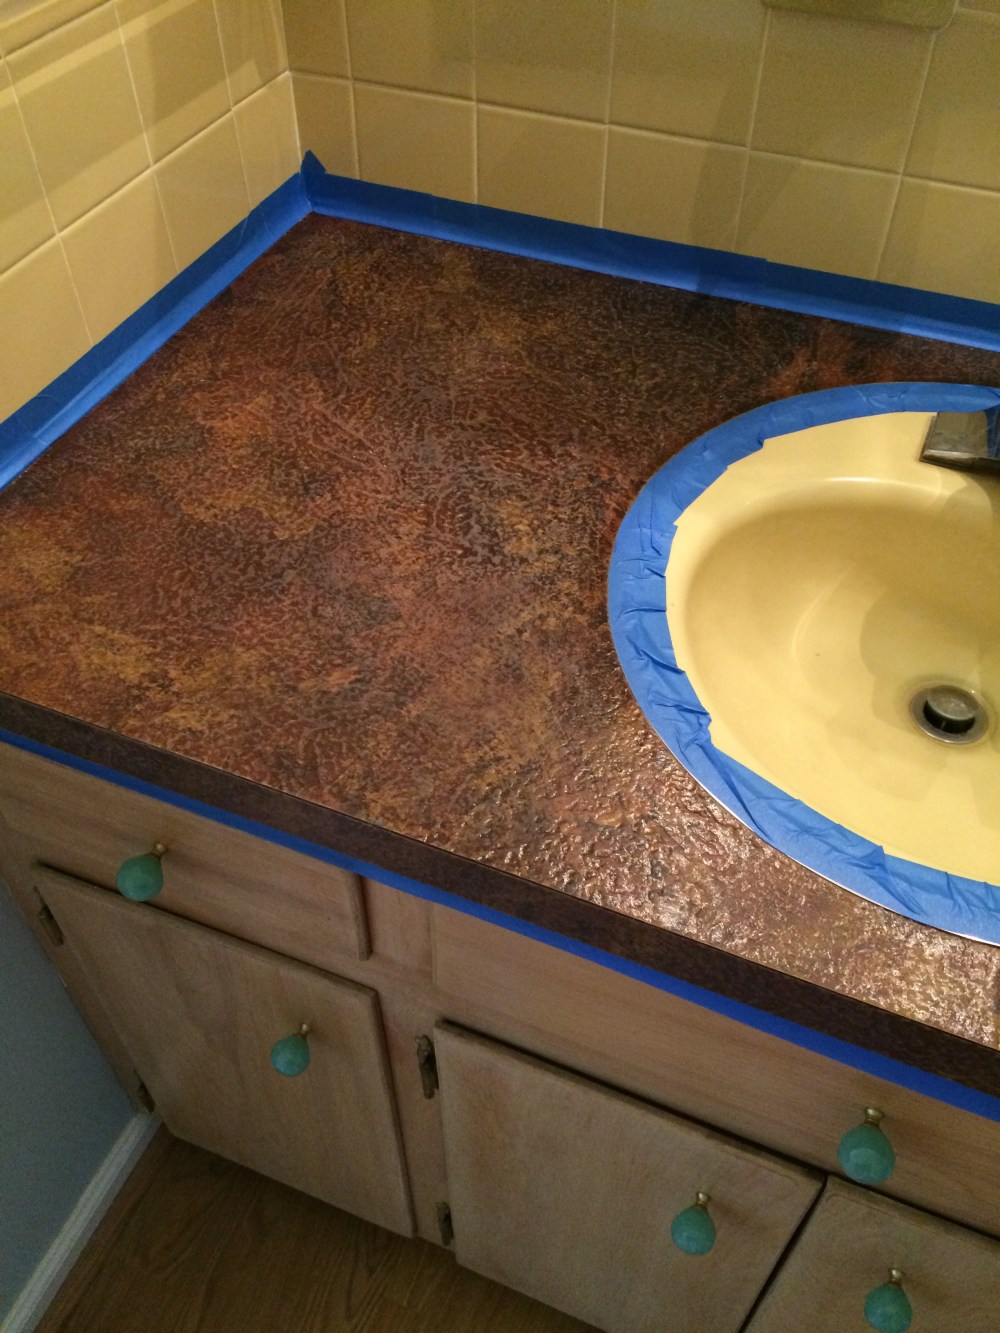
It looks less “sanded” there because I washed it off. It’s just slightly less shiny than the original surface.
The taping around the sink wasn’t perfect, because I’m not really a meticulous prepper. Oops. I had a plan for the aftermath of that.
So sanded, check. Taped, check. Then came priming.
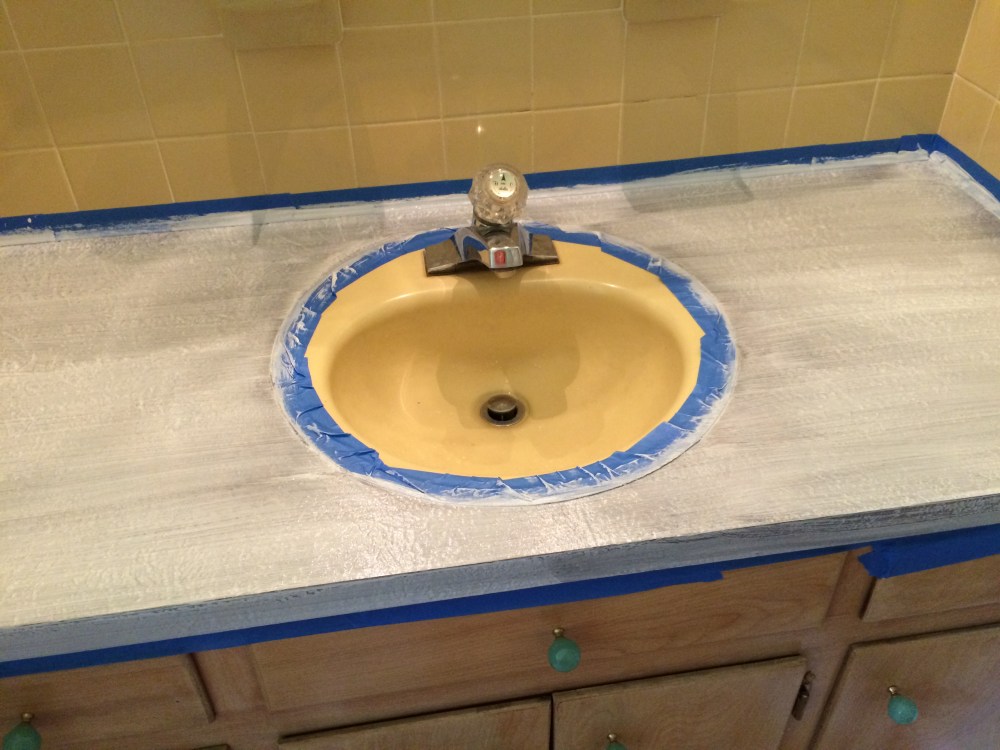
And finally, the fun part–actual painting with chalkboard paint. I picked a nice, normal paintbrush instead of a roller. Mostly, I picked the paintbrush because I was cheap. I knew I would have to paint the layers over a few days, I’m terrible at washing out rollers, and I didn’t want to pay for more than one roller for such a small project. Paintbrush to the rescue.
It was so quick to paint each layer despite not using the fastest tool. Maybe 15 minutes per coat. I tried to stick to brushstrokes in one direction at a time (all horizontal one time, all vertical the next), and it ended up creating this nice linen-ish texture in the end. On top of the already quite thick texture of the countertops. Plenty of texture on this counter, believe me.
What I didn’t factor in was the final untaping. It ripped up some of the paint, and I had to do touch-ups with the world’s tiniest paintbrush. You can see that fun part here:
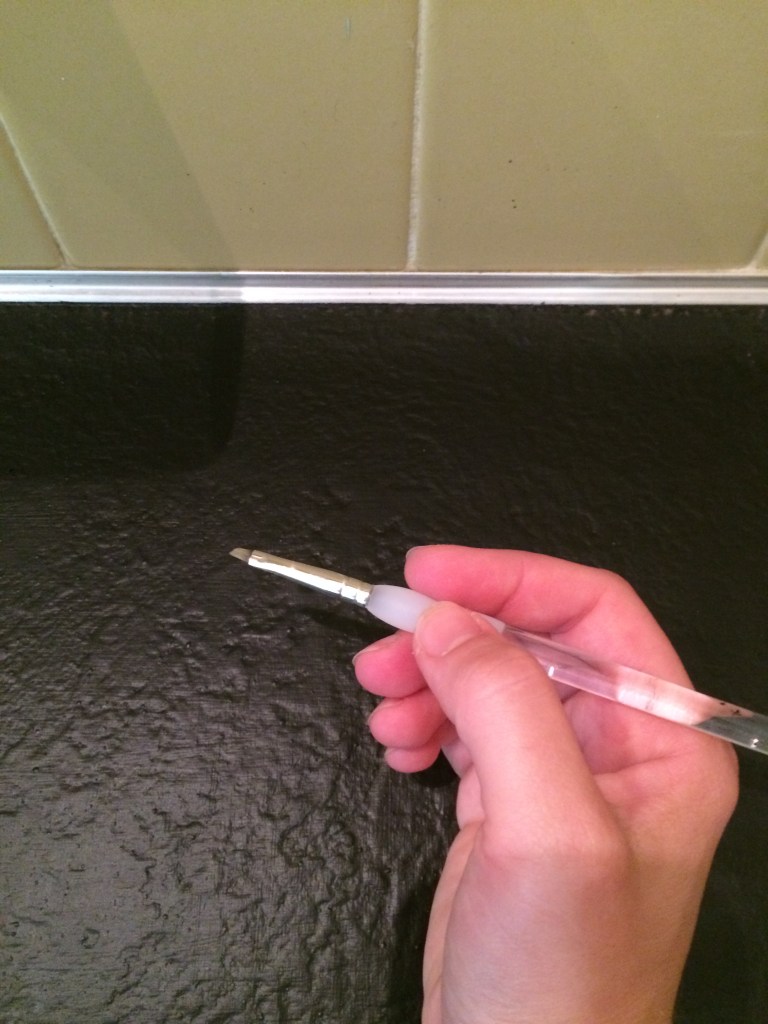
After the painting (three layers) and the touch-up, there was A) a happy sigh, and B) a chance to admire the smooth black finish of the counter. There was also a chance to use a razor blade to scrape paint off of the metal trim where the taping wasn’t perfect. It worked pretty well. Around the edges, the trim was curved and such, so I used sandpaper to get rid of the paint. The sandpaper/razor combo did the trick really well. It turns out there are nice things about metal trim around your sink and tile. You can scrape and sand and still have good trim in the end.

Yay! Better.
Which just left treating it like a chalkboard–rubbing a layer of chalk all over the countertop, washing it off, and going on with my merry life.

Sometimes I leave it blank, and it looks at least 5% like soapstone.
Sometimes I use it like an actual chalkboard.
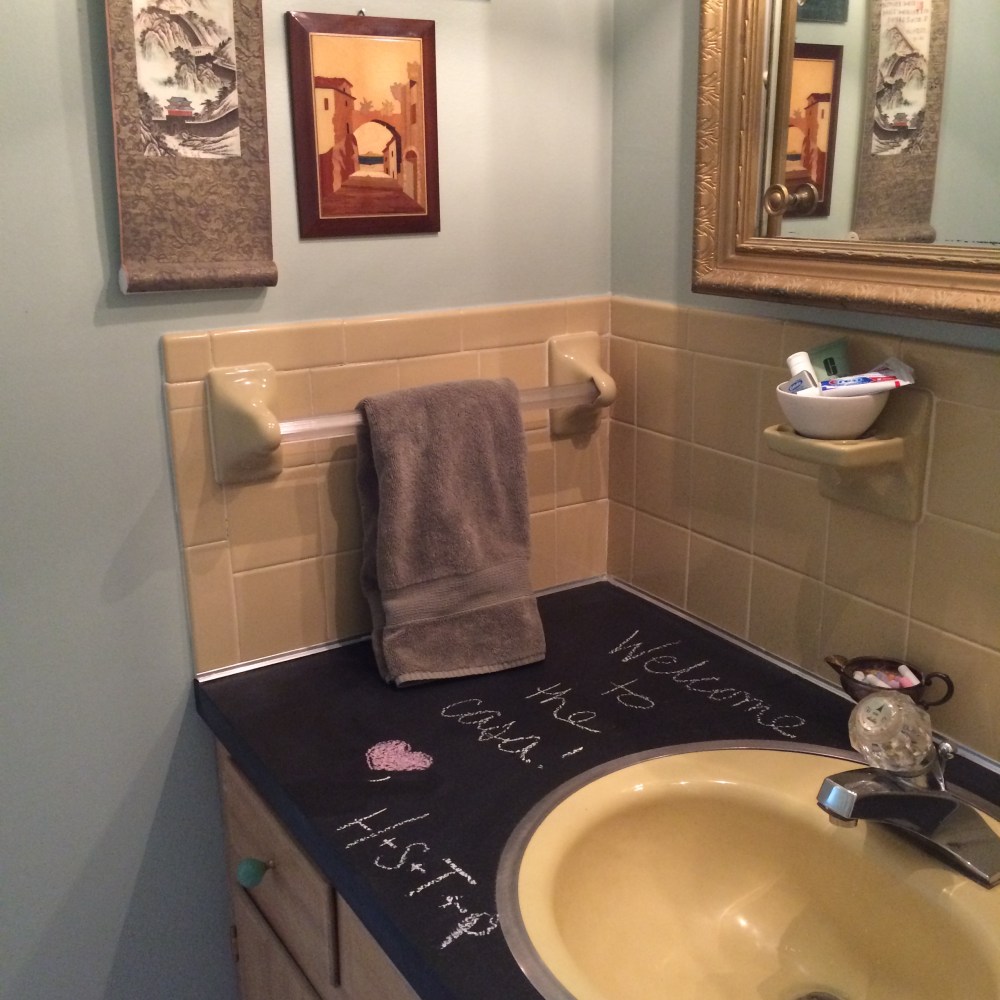
It might be unusual, and it might not be the exact color scheme I would pick on my own. But I like it. And it was free. And I think I could happily live with it for 20 years. Maybe 25 years. What more could you ask?
P.S. I’ve read on other blogs that people have done this same thing in bathrooms and on kitchen countertops. It is reported to hold up well, so I wasn’t too worried about trying it out. This particular countertop doesn’t see a lot of hard use, so how bad could it be? So far so good (a few weeks in).

I LOVE this! It looks amazing! So impressive, and I love how creative you got with your resources.
How is this holding up? I’m considering doing my kitchen countertops.
Good question! After five and a half years, there are a few chips in the paint. I was actually considering lightly sanding and going for round two someday. I love the treatment, and it was a great free solution for our bathroom. I would definitely do it again and recommend it to people. That said, if you cook regularly, it might not hold up to kitchen use. I cook at least one meal a day (with heavy pots and pans and cutting boards and such), and I don’t think this would last on our kitchen countertops. I’m sorry I don’t have a more positive answer for you.
There are kits to paint kitchen countertops that might hold up better. In fact, I feel pretty sure they would. But if you’re going with a simple sand and paint, you might want to try a more heavy duty treatment. I also painted two fridges with chalk paint that used to be shades of almond, and they are holding up well.